This guide will explain each setting available to you and provide instructions on how to navigate and make changes to the Account Settings in your KnowledgeCity LMS. Account Settings are categorized under the following tabs: General, Security, Users Management, Learning Process, and Access Schedules.
Navigating to Account Settings
- Click on the gear icon located on the top-right corner of the LMS.
- Select Account Settings from the dropdown menu.
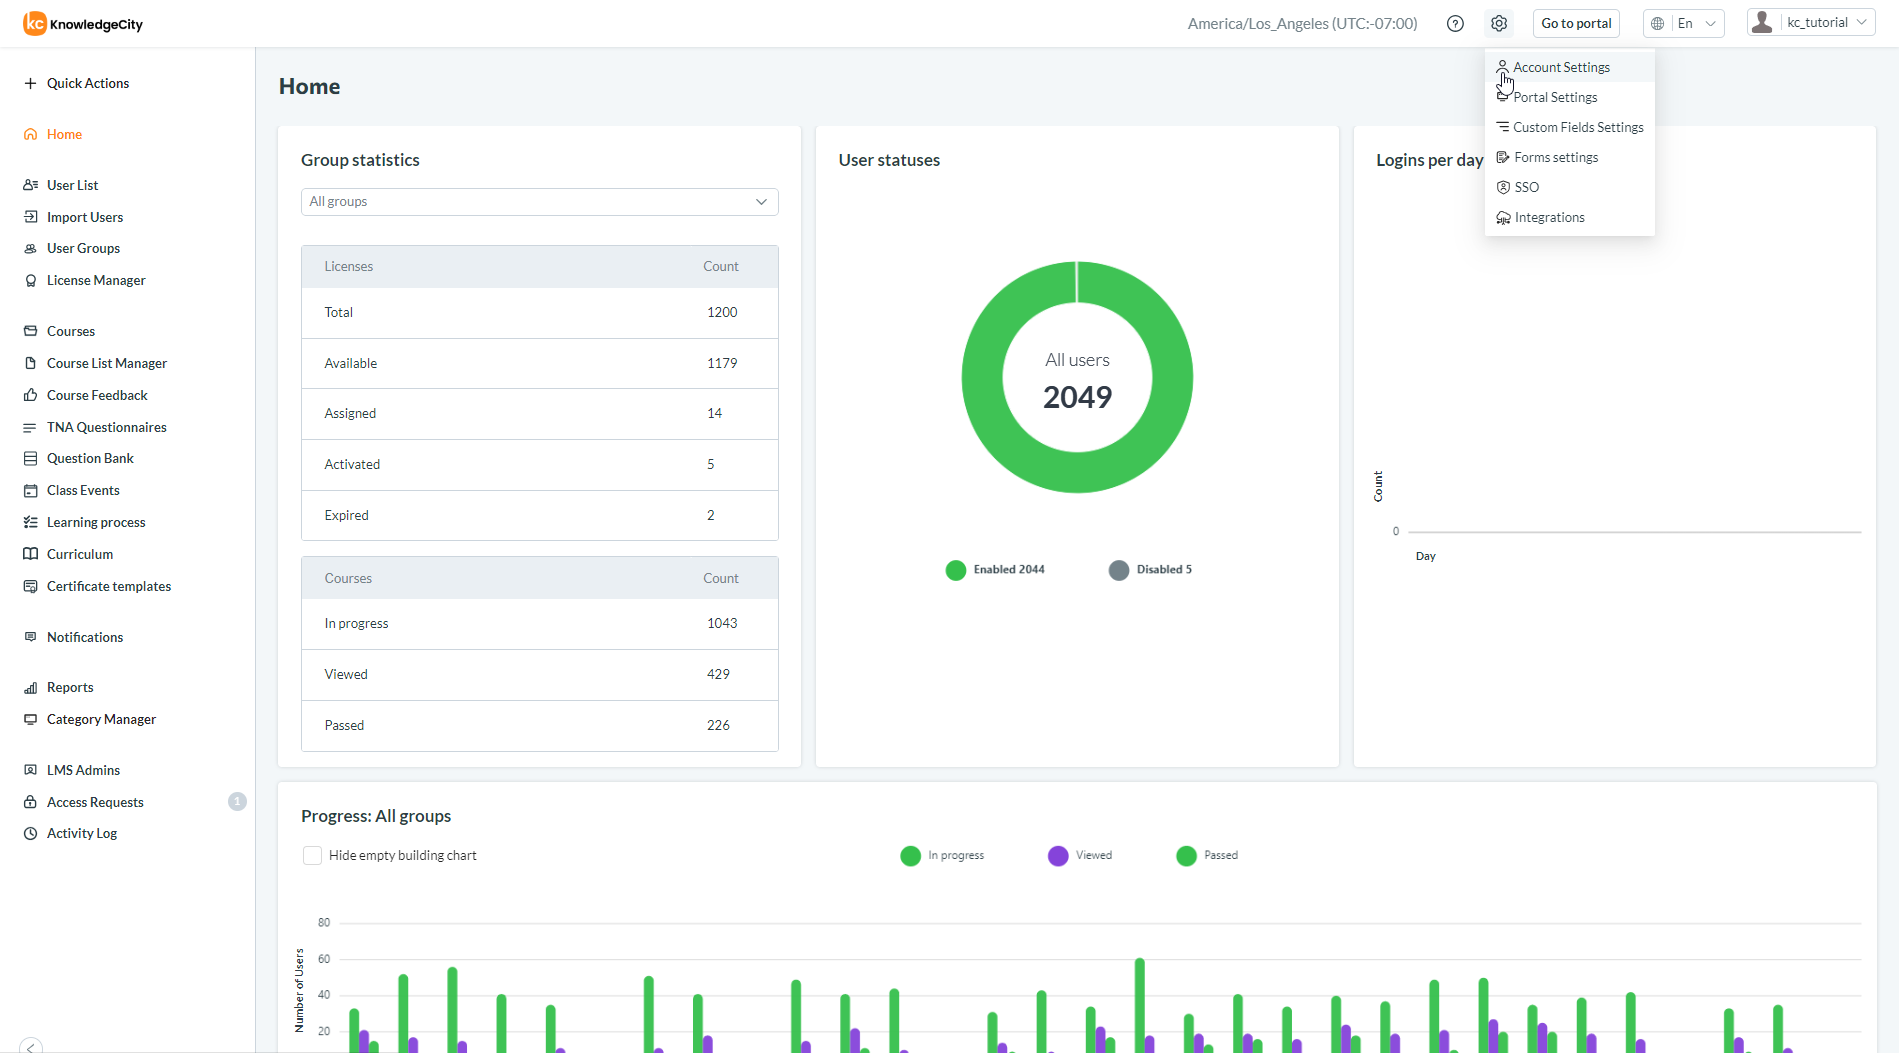
An example illustration of navigating to Account Settings from the LMS Dashboard.
General Settings
- Once in Account Settings, the General Settings will be displayed by default.
- Here, you can change LMS settings such as:
- Company name
- Start page for users after users sign in
- Time zone
- Enable/disable system notifications
- Click "Save" after making your changes.
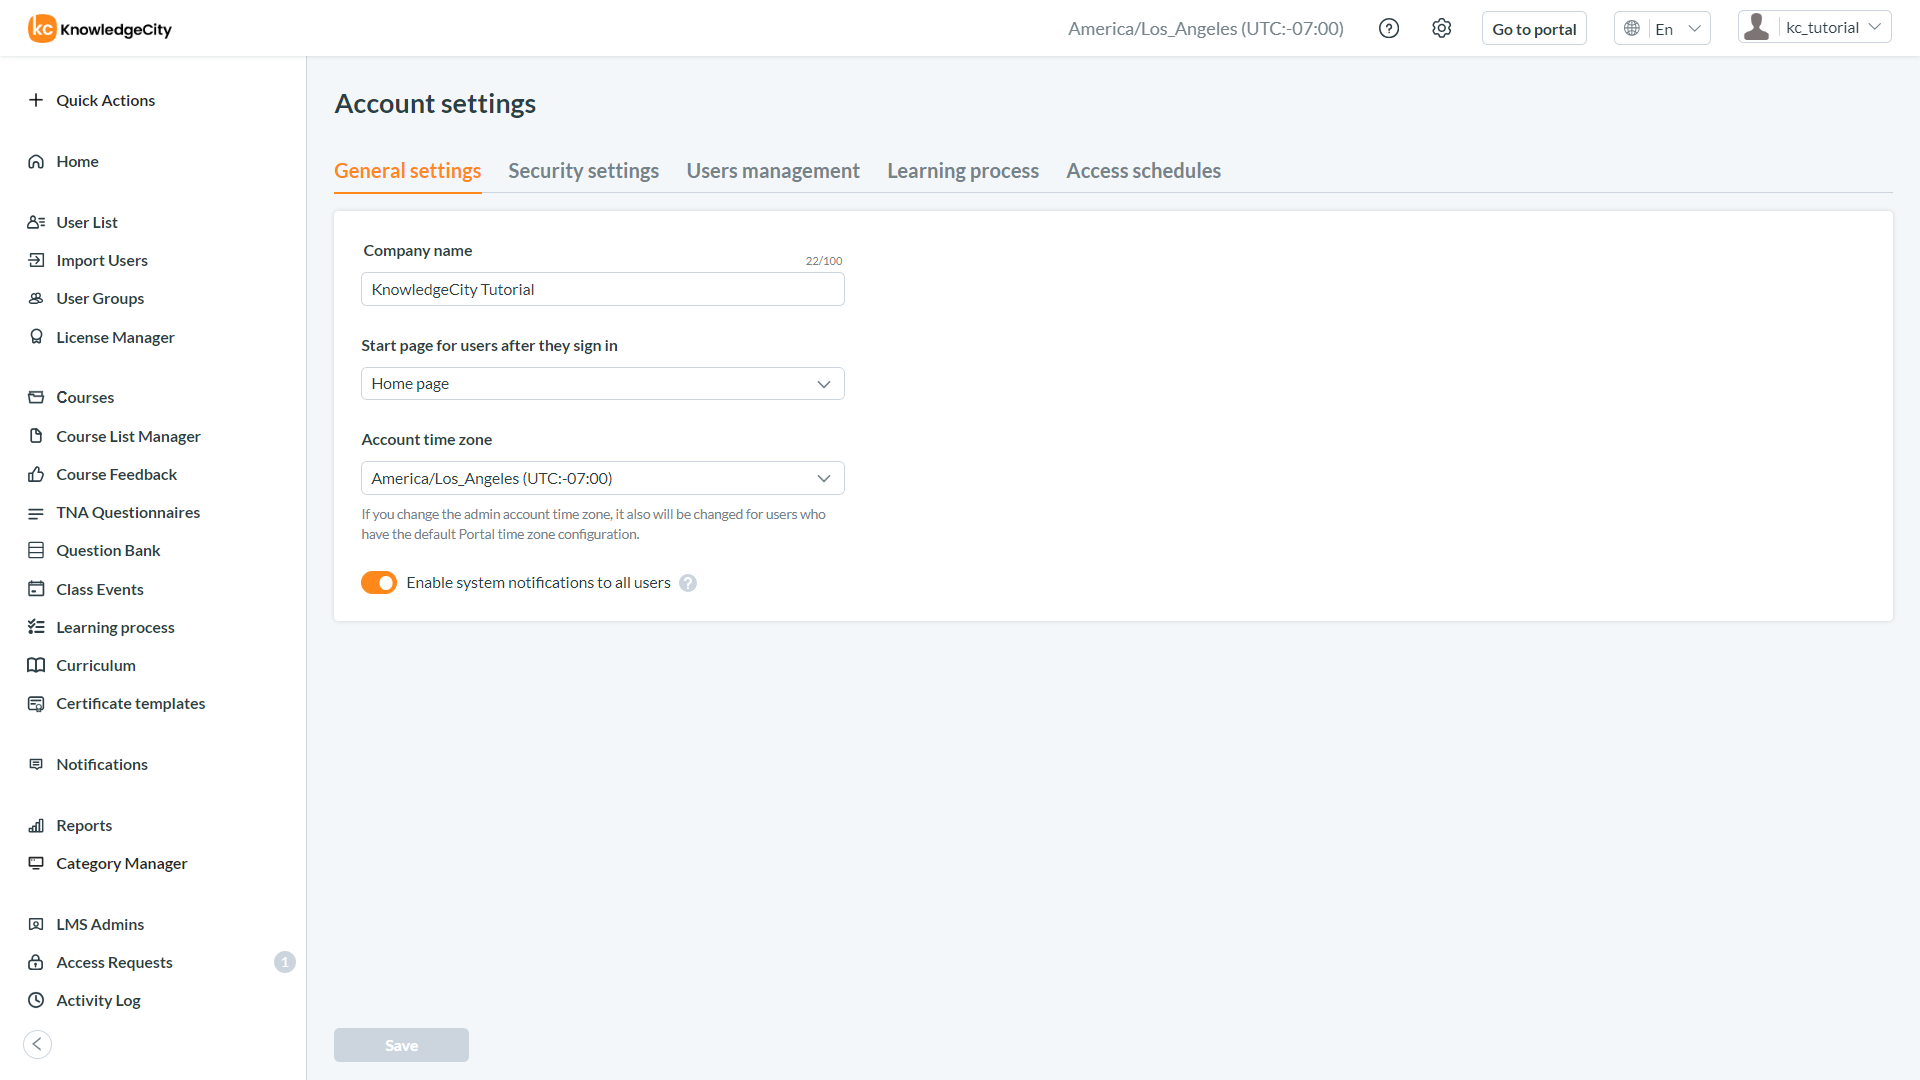
An example illustration of the General settings tab of the LMS Account Settings.
Security Settings
- Click on the Security Settings tab within Account Settings.
- Adjust your preferences for settings such as:
- Password requirements (including use of lowercase, special characters, uppercase characters, numbers)
- Password confirmation field
- Minimum password length
- Password duration (the length of time until a password expires)
- Check for previously used passwords (allow or don't allow for a password to be re-used)
- Maximum login attempts before locking the account
- Disable inactive accounts after a specified number of days
- To set Multi-Factor Authentication (MFA):
- Click "Turn on multi-factor of authentication".
- In the pop-up, decide whether MFA is required for users, and select the authentication methods (Email or Authenticator app).
- Click "Save changes".
- For additional information on MFA, click here to view a supplementary article on this topic.
- Click "Save" to apply the security settings.

An example illustration of the Security settings tab of the LMS Account Settings.
Users Management
- Navigate to the Users Management tab within Account Settings.
- Here you can make changes to settings such as:
- New username prefix for automatically generated usernames.
- Whether the Employee ID needs to be unique for each user.
- Line Manager notifications options.
- To set a global training limit across the portal:
- Click "Set global training limit".
- In the pop-up, specify the training hours limit per day or month.
- Click "Confirm".
- Click "Save" to apply user management settings.
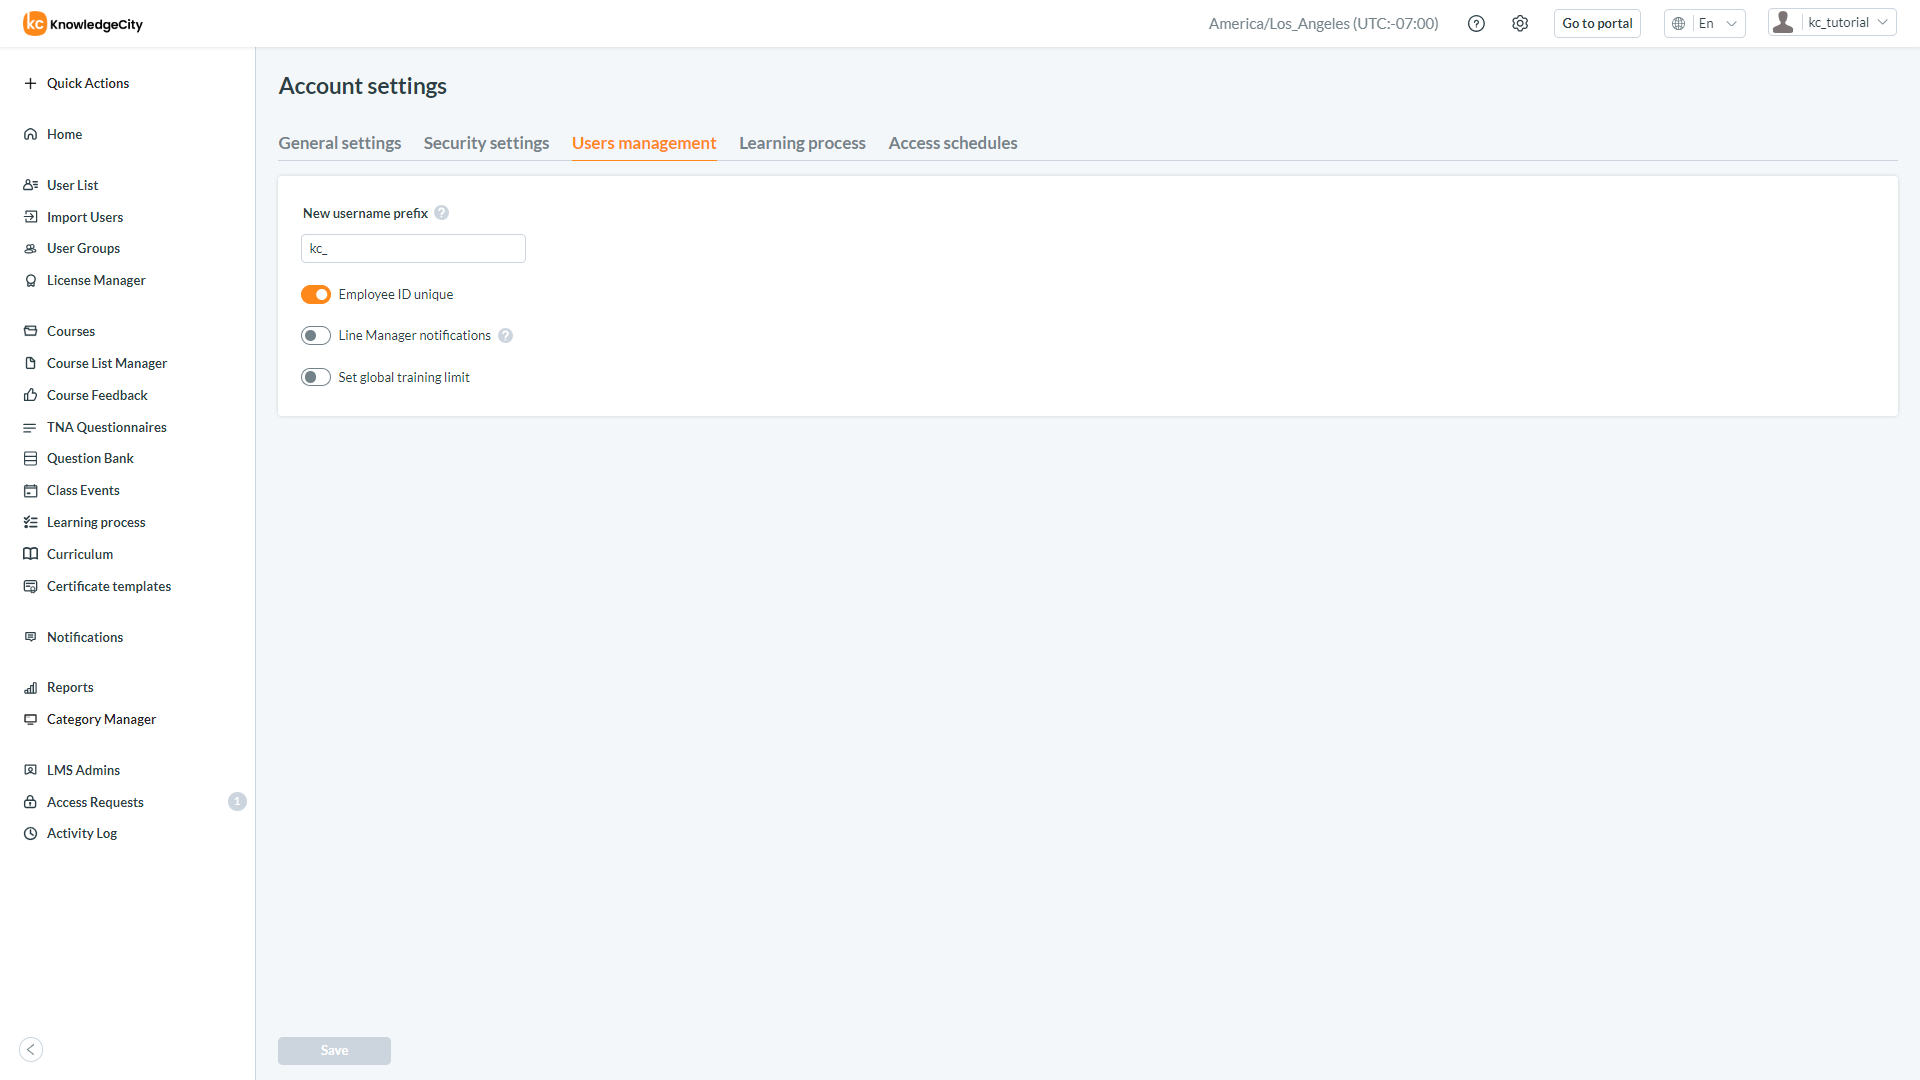
An example illustration of the Users management tab of the LMS Account Settings.
Learning Process
- Select the Learning Process tab within Account Settings.
- You can modify settings related to:
- License assignment notifications
- Sending periodic progress reports and frequency
- Course access options
- Lesson completion criteria
- Control of fast-forwarding through lessons
- Lesson sequence viewing requirements
- Autoplay lessons option
- Pause video playback when the user switches tabs
- Allowing student users access to certificates
- Click "Save" to apply learning process settings.
Note: Depending on your portal, the "Access to all courses" setting may feature a drop-down menu including the option "Closed until all assignments are completed". Alternatively, you may encounter an option below labeled "Allow full access to all courses after completing assigned courses" With this setting enabled, new assignments will become a mandatory prerequisite for gaining full access to the course library.

An example illustration of the Learning process tab of the LMS Account Settings.
Access Schedules
- Click on the Access Schedules tab in Account Settings.
- From here, you can change the time zone if necessary.
- To add a new schedule:
- Click "Add schedule".
- Fill in the form in the pop-up and click "Save changes". Once the new Access Schedules have been saved, a success notification will appear with the updated Access Schedules list.
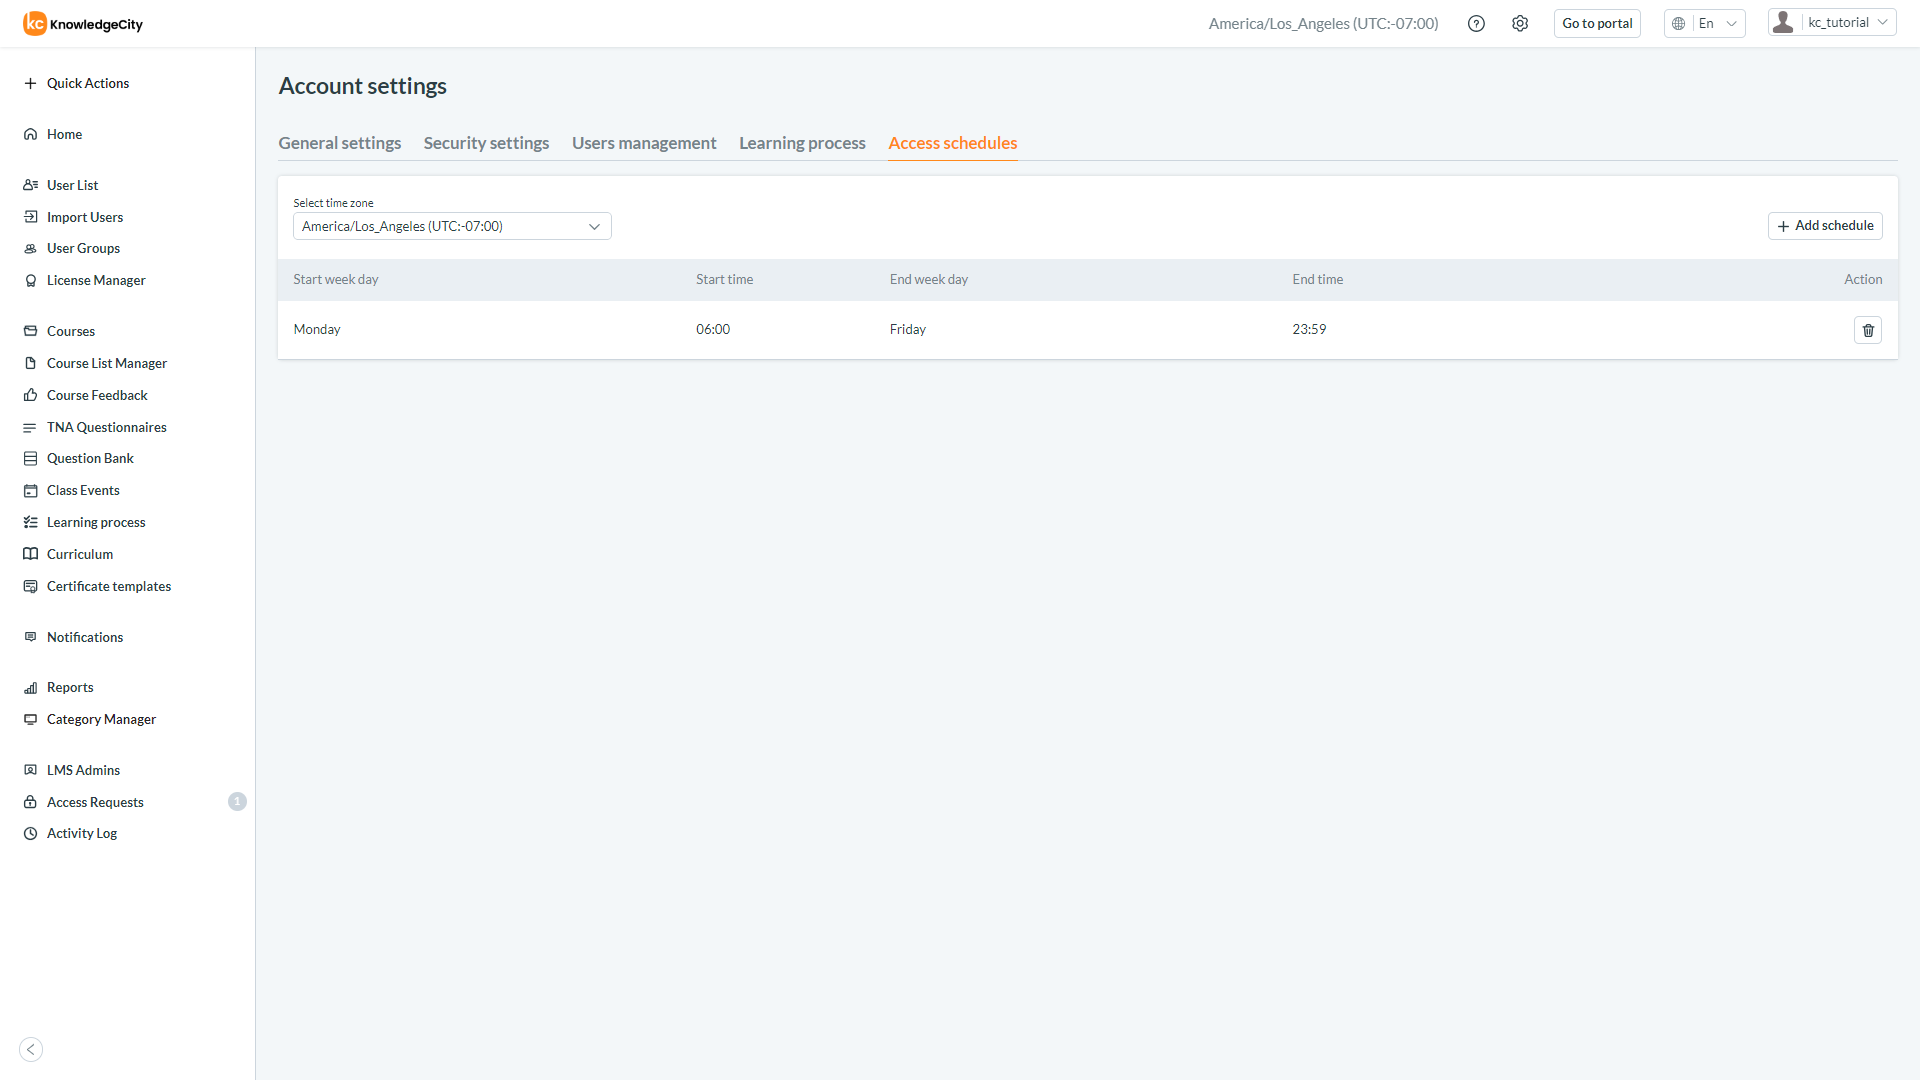
An example illustration of the Access schedules tab of the LMS Account Settings.
For additional settings options available in your LMS, please view our supplementary article covering the LMS Portal Settings.
Be sure the check our other available articles covering additional settings options.
This overview of KnowledgeCity's LMS account settings ensures that you can tailor the platform's functionalities to your company's specific requirements. Adjust these settings based on your organizational policies and user preferences to optimize your eLearning portal's efficiency and security.